Blog
Phoenix - Building a Chat Server in 15 minutes
Posted on February 01, 2016 by Clive
This post will try to show how quickly you can build a web application using Elixir and Phoenix.
For those that don't know what Phoenix is, its a web application framework based on the MVC paradigm. In some ways its similar to Ruby on Rails (RoR). It has a similar structure, there are some generators for common code. Unlike RoR, Phoenix is fast - really fast and extremely stable The Road to 2 Million Websocket Connections in Phoenix.
I originally wrote this as a tutorial for my place of work to demonstrate how quickly applications can be built using Phoenix. Its set up in a number of steps.
This post was originally written for Phoenix v1, later versions seem to have a requirement for the DB to be configured.
Step 0
Make sure the following prerequisites are in place: Erlang, Elixir (see below), Node.JS, NPM, PostgreSQL. If you're running linux you will need inotify-tools as well.
These are prerequisites of the framework, but we won't be using any PostgreSQL connectivity in this example application.
Install Elixir
Quick installation instructions are given below
$ brew install elixir
$ sudo dpkg -i erlang-solutions_1.0_all.deb
$ sudo apt-get update
$ sudo apt-get install elixir
https://s3.amazonaws.com/s3.hex.pm/elixir-websetup.exe
These should all install Erlang as a dependency. If this is not the case, go here: http://www.erlang.org/download.html
Full instructions can be found here: [http://elixir-lang.org/install.html](http://elixir-lang.org/install.html).
Install Phoenix
The following are quick installation instructions (I'm using a Mac, so you're mileage might vary). Full instructions can be found at https://hexdocs.pm/phoenix/installation.html
On your command line/terminal
$ mix local.hex
$ mix archive.install https://github.com/Phoenix/archives/raw/master/phoenix_new.ez
Step 1
With Elixir and Phoenix Framework installed we can now start building out the application.
Create new Phoenix Framework application
On your command line/terminal
$ cd ~/Projects
$ mix phoenix.new mychat
At the prompt type: y and then when complete change to the newly minted mychat dir
Fetch and install dependencies? [Yn] y
...
$ cd mychat
Update: Phoenix 1.2 requires DB set up
Update the config/dev.exs file with your DB credentials
config :myChat, MyChat.Repo,
  adapter: Ecto.Adapters.Postgres,
  username: "postgres",                 <---- PUT YOUR USER HERE
  password: "postgres",                 <---- PUT YOUR PASSWORD HERE
  database: "mychat_dev",
  hostname: "localhost",
  pool_size: 10
Once this is done run:
$ mix ecto.create
Fire phoenix up to make sure that all is in order:
$ mix phoenix.server
The first run will always take a little longer because it needs to compile everything.
If you receive this error:
error: Compiling of web/static/js/socket.js failed. Couldn't find preset "es2015" relative to directory "web/static/js" ; Compiling of web/static/js/app.js failed. Couldn't find preset "es2015" relative to directory "web/static/js"
then you need to add in the babel preset for ES2015 as follows:
npm install --save babel-preset-es2015
and then restart the server
$ mix phoenix.server
Open up a browser
Use your favourite web browser and navigate to http://localhost:4000
If successfully installed and running you should now see this in your browser
Step 2
Whilst Phoenix Framework is running in development mode, it automatically performs code reloads... (most of the time)
Prepare vendor js and css
Because I'm lazy, I'm going to short-cut some of the browser manipulations using jQuery. In order to use jQuery with Phoenix, it needs to be placed in the web/static/vendor folder. This is so that when brunch picks it up to compile, it doesnt try and push it through an ES6 transpiler.
Copy this file to web/static/vendor: jquery.min.js
Whilst you're at it, replace the app.css file in web/static/css with the following file: app.css
As these are new assets, you will need to force a page reload in order to pull them down.
Add a new Controller
Add the following file: web/controllers/chat_controller.ex
defmodule Mychat.ChatController do
	use Mychat.Web, :controller

	def index(conn, _params) do
		render conn, "lobby.html"
	end
end
Update Routing
Change the default scope in the routing file (web/router.ex)to the following
scope "/", Mychat do
	pipe_through :browser # Use the default browser stack
	get "/", ChatController, :index
end
Add a new View
Add the following file: web/views/chat_view.ex
defmodule Mychat.ChatView do
    use Mychat.Web, :view
end
Add a new Template
And this one: web/templates/chat/lobby.html.eex
<div id="messages" class="container">
</div>
<div id="footer">
	<div class="container">
		<div class="row">
			<div class="col-sm-2">
				<div class="input-group">
					<span class="input-group-addon">@</span>
                    <input id="username" type="text" class="form-control" placeholder="username">
                </div>
            </div>
            <div class="col-sm-10">
            	<input id="message-input" class="form-control" />
            </div>
        </div>
    </div>
</div>
Update the Layout
If you were to check your browser now, you would see something that looks a little bit screwy.
This is because we're still using the old layout.
Change web/templates/layout/app.html.eex to this:
<!DOCTYPE html>
<html lang="en">
<head>
	<meta charset="utf-8">
	<meta http-equiv="X-UA-Compatible" content="IE=edge">
	<meta name="viewport" content="width=device-width, initial-scale=1">
	<meta name="description" content="">
	<meta name="author" content="">
	<title>My Chat App</title>
	<link rel="stylesheet" href="<%= static_path(@conn, "/css/app.css") %>">
</head>
<body>
	<div class="navbar navbar-default navbar-fixed-top" role="navigation">
		<div class="container">
			<div class="navbar-header">
				<button type="button" class="navbar-toggle" data-toggle="collapse" data-target=".navbar-collapse">
					<span class="sr-only">Toggle navigation</span>
					<span class="icon-bar"></span>
					<span class="icon-bar"></span>
					<span class="icon-bar"></span>
				</button>
				<a class="navbar-brand" href="#">My Chat App</a>
			</div>
		</div>
	</div>

	<%= render @view_module, @view_template, assigns %>

	<script src="<%= static_path(@conn, "/js/app.js") %>"></script>
</body>
</html>
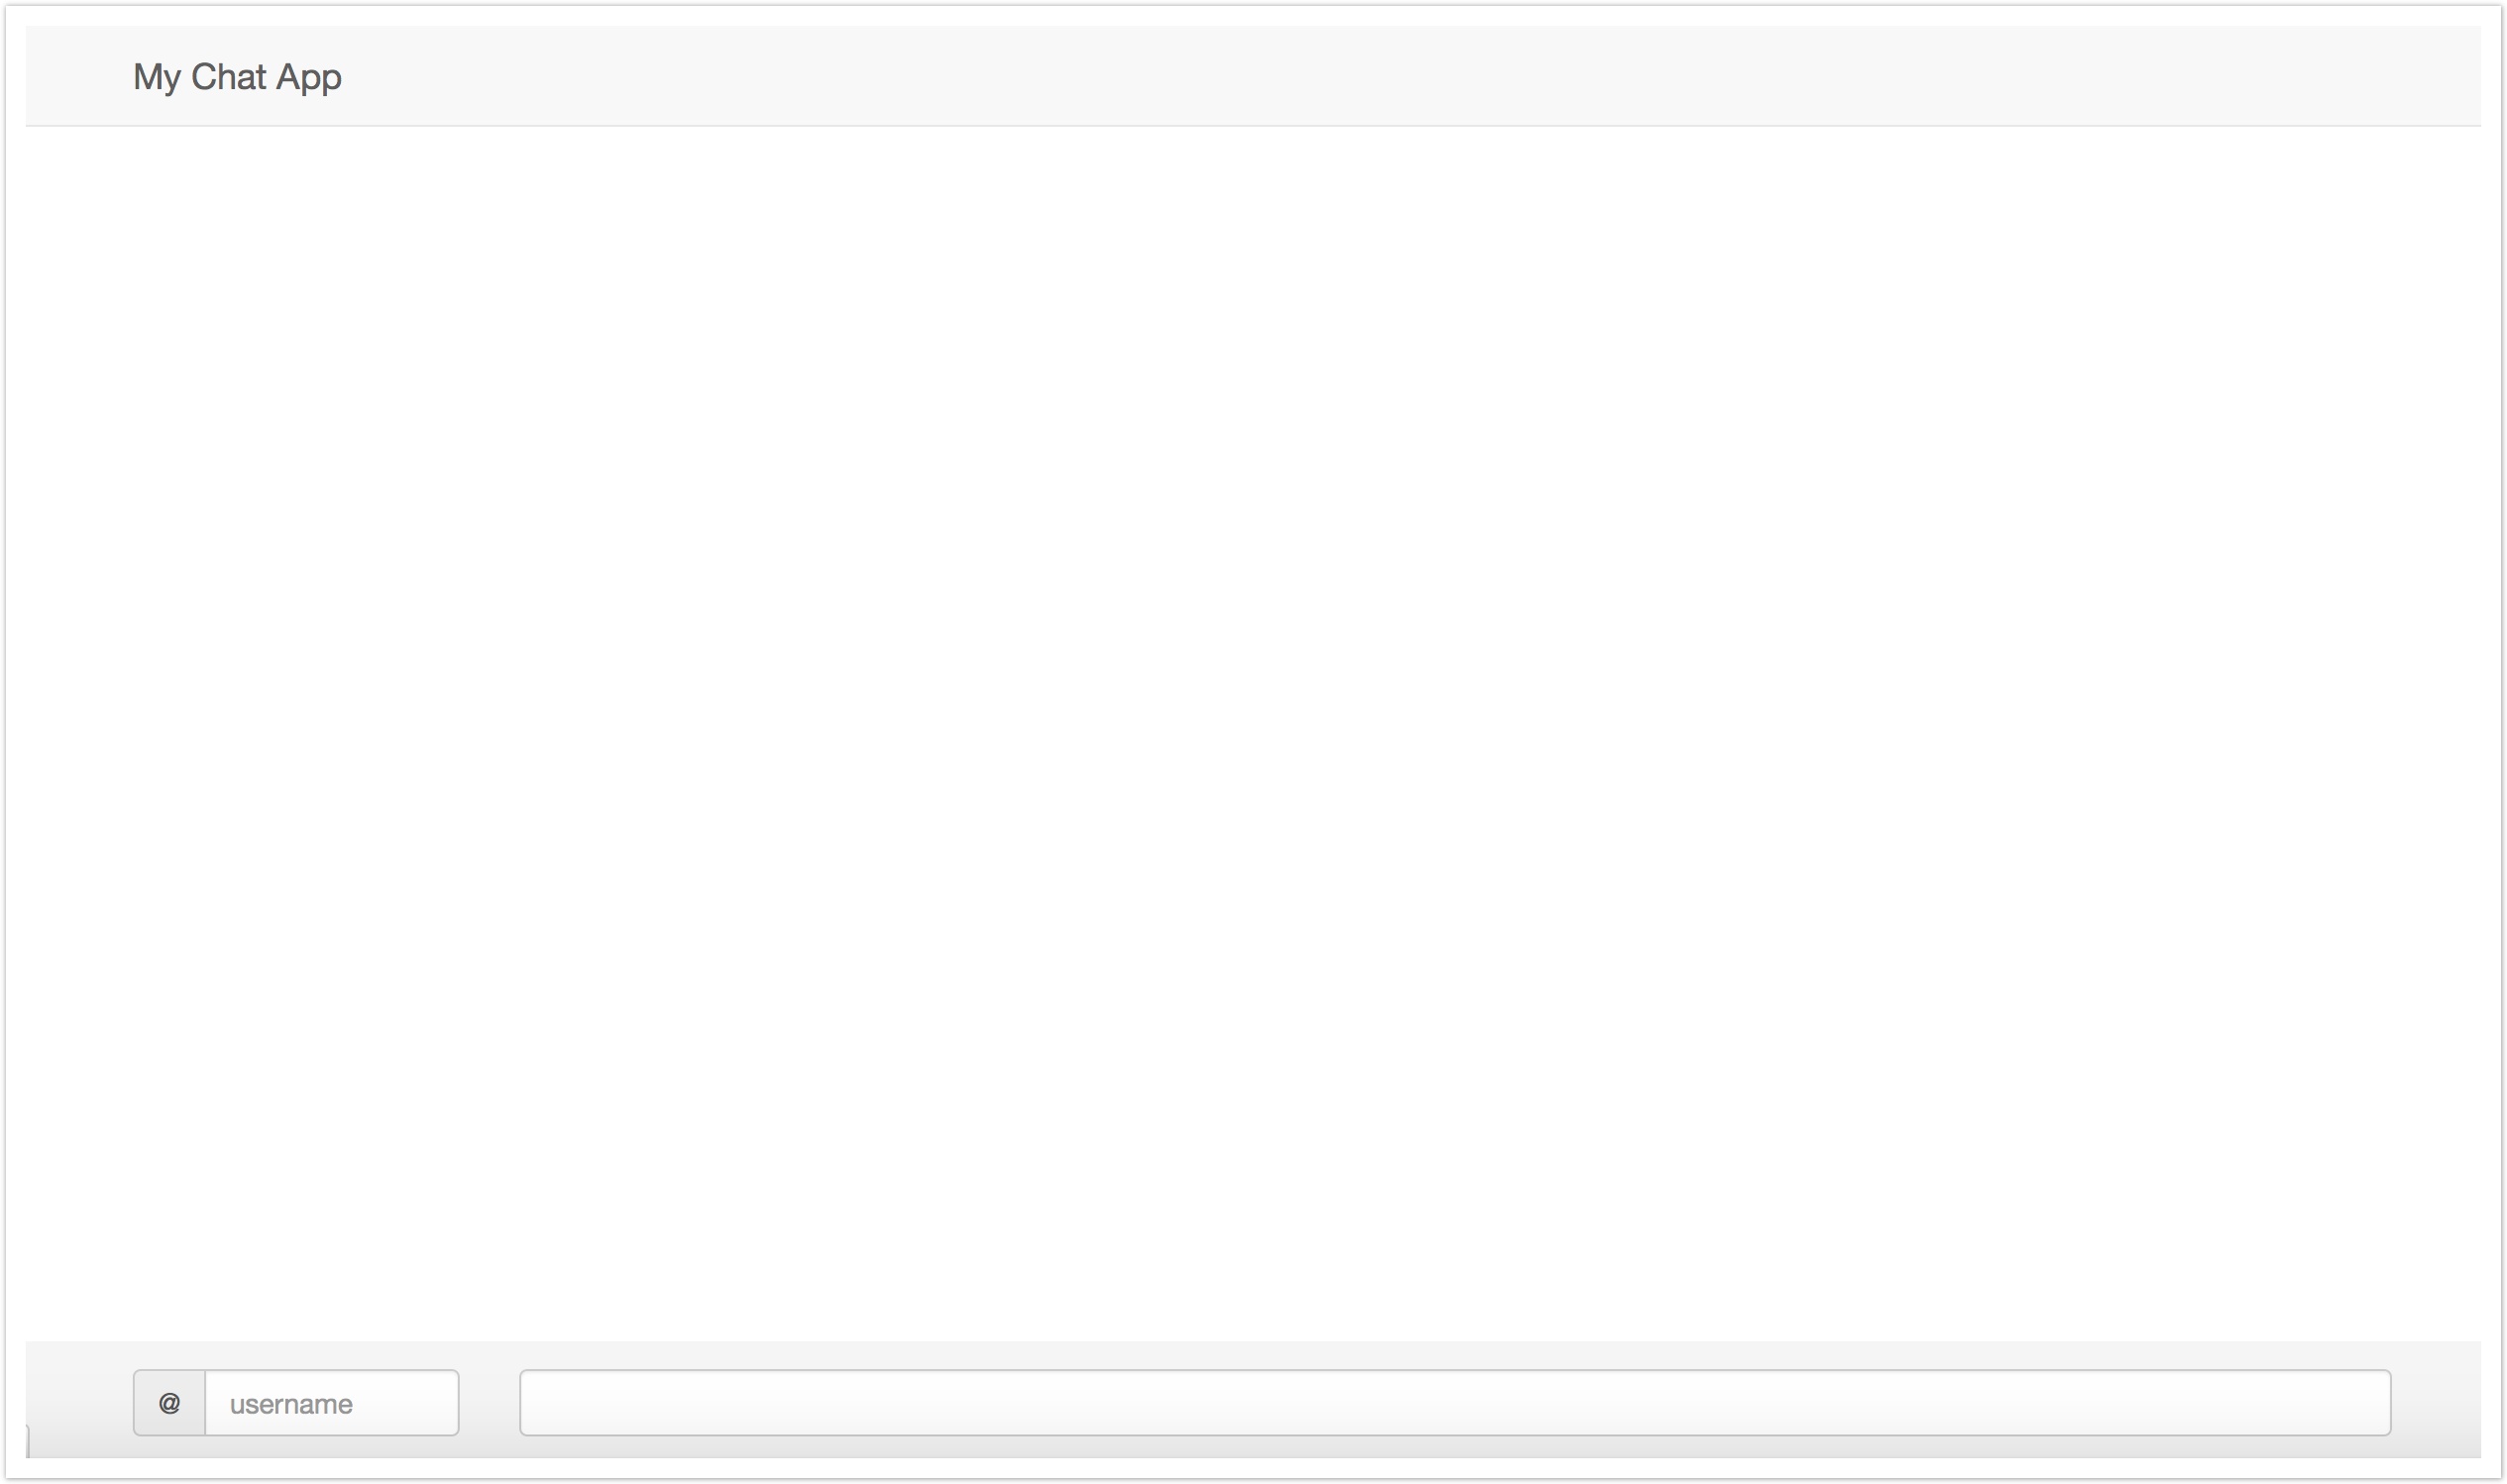
Results
All being well, you should now see in your browser something not too distant from this
Step 3
Lets prepare Phoenix Framework to operate through channels. A Channel is essentially a wrapper around websockets.
Update the endpoints file
Depending on the version of Phoenix Framework that you have installed, you might need to update the endpoints file (lib/mychat/endpoint.ex) with the following line
defmodule Mychat.Endpoint do
    use Phoenix.Endpoint, otp_app: :mychat

    socket "/socket", Mychat.UserSocket      <--- MAKE SURE THIS LINE IS IN PLACE

    ...
If you're using the latest version of Phoenix then this should not be necessary, but its still good to check.
Update the user_socket file
This file (web/channels/user_socket.ex) is too complicated at the moment for what we need it for. Change it to this
defmodule Mychat.UserSocket do
    use Phoenix.Socket

    ## Channels
    channel "rooms:*", Mychat.RoomChannel

    ## Transports
    transport :websocket, Phoenix.Transports.WebSocket
    transport :longpoll, Phoenix.Transports.LongPoll

    def connect(_params, socket), do: {:ok, socket}

    def id(_socket), do: nil

end
Add in the room_channel file
You will notice that the file above makes reference to the Mychat.RoomChannel module - this currently doesn't exist. If you check the browser at this point, it might have gotten all explody.
Add the web/channels/room_channel.ex file to change that
defmodule Mychat.RoomChannel do
    use Mychat.Web, :channel

    def join("rooms:lobby", message, socket) do
    	Process.flag(:trap_exit, true)
    	send(self, {:after_join, message})
    	{:ok, socket}
    end

    def join("rooms:" <> _something_else, _msg, _socket) do
    	{:error, %{reason: "can't do this"}}
    end

    def handle_info({:after_join, msg}, socket) do
    	broadcast! socket, "user:entered", %{user: msg["user"]}
    	push socket, "join", %{status: "connected"}
    	{:noreply, socket}
    end

    def terminate(_reason, _socket) do
    	:ok
    end

    def handle_in("new:msg", msg, socket) do
    	broadcast! socket, "new:msg", %{user: msg["user"], body: msg["body"]}
    	{:reply, {:ok, %{msg: msg["body"]}}, assign(socket, :user, msg["user"])}
    end
end
Results
If you check the browser at this point, nothing much will have changed. We didn't add any new pages.
The next section will add the client side of the conversation.
Step 4
Adding in the final JS. Time to get down with some ES2015.
Update socket.js
If you are at all nosey and have already taken a look at the directory structure of the project, you might have noticed the socket.js file. We're going to update that file now in order to start wiring up this part of our two way conversation.
Its important to remember at this point that Phoenix Framework uses ES2015 out of the box, so to some this javascript might look a little odd...
Update web/static/js/socket.js to reflect the following code
import {Socket} from "phoenix"

let socket = new Socket("/socket")

socket.connect()

export default socket
Create the worker file
Because I have a twisted sense of irony, I have called the file that holds the code that does all the work gossip.js.
Add this in next to the socket.js file that you amended above, in web/static/js/.
class Gossip {
static init(socket){
var $status = $("#status")
var $messages = $("#messages")
var $input = $("#message-input")
var $username = $("#username")
socket.onOpen( ev => console.log("OPEN", ev) )
socket.onError( ev => console.log("ERROR", ev) )
socket.onClose( e => console.log("CLOSE", e) )
var chan = socket.channel("rooms:lobby", {})
chan.join()
.receive("ignore", () => console.log("auth error"))
.receive("ok", () => console.log("join ok"))
.receive("timeout", () => console.log("Connection interruption"))
chan.onError(e => console.log("something went wrong", e))
chan.onClose(e => console.log("channel closed", e))
$input.off("keypress").on("keypress", e => {
if (e.keyCode == 13) {
chan.push("new:msg", {user: $username.val(), body: $input.val()}, 10000)
$input.val("")
}
})
chan.on("new:msg", msg => {
$messages.append(this.messageTemplate(msg))
scrollTo(0, document.body.scrollHeight)
})
chan.on("user:entered", msg => {
var username = this.sanitize(msg.user || "anonymous")
$messages.append(`<br/><i>[${username} entered]</i>`)
})
}
static sanitize(html){ return $("<div/>").text(html).html() }
static messageTemplate(msg){
let username = this.sanitize(msg.user || "anonymous")
let body = this.sanitize(msg.body)
return(`<p><a href='#'>[${username}]</a> ${body}</p>`)
}
}
export default Gossip
Complete the imports and start the process
The last code change that needs to be made is as follows - in the app.js file, update the content to
import "phoenix_html"

// Import local files
//
// Local files can be imported directly using relative
// paths "./socket" or full ones "web/static/js/socket".

import socket from "./socket"
import Gossip from "./gossip"
Gossip.init(socket)
Results
If you return to your browser session (you'll probably need to refresh the page), you will now be able to enter a name and a message. When the message box loses focus, the main section of the page will update.
Whats more, if you open more than one browser session to the application you'll be able to mimic multiple users talking to each other.
The End
Thats it. Really. A working chat application that allows people to talk to one another. Granted its not Skype, but its a start.
Latest Elixir Articles
- Adding Elm to Phoenix
- Uploading images to Heroku using Phoenix
- Hosting Phoenix Applications on Heroku
- Building a Blog with Phoenix (Part 2)
- Building a Blog with Phoenix
- Phoenix - Applying alternative layouts to all a controllers views
- Phoenix - Building a Chat Server in 15 minutes
- Dealing with collections - Enum (and Stream)
- Control your flow
- eWebmachine 2 - Hello World
Categories
- Elixir (25)
- Elm (1)
- Functional Programming (2)
- Heroku (2)
- JavaScript (3)
- Mustache (4)
- Phoenix (7)
- Wintersmith (1)
- eWebmachine (8)